The battery came with two little plastic prying devices to help with separating the pod - I wonder if you can change the battery at all with the new Gen. 2 Nanos that feature an aluminum case???? Anyone know?
Anyway - I needed to go buy a soldering iron too because there are three connectors where the battery attaches directly to the circuit board.
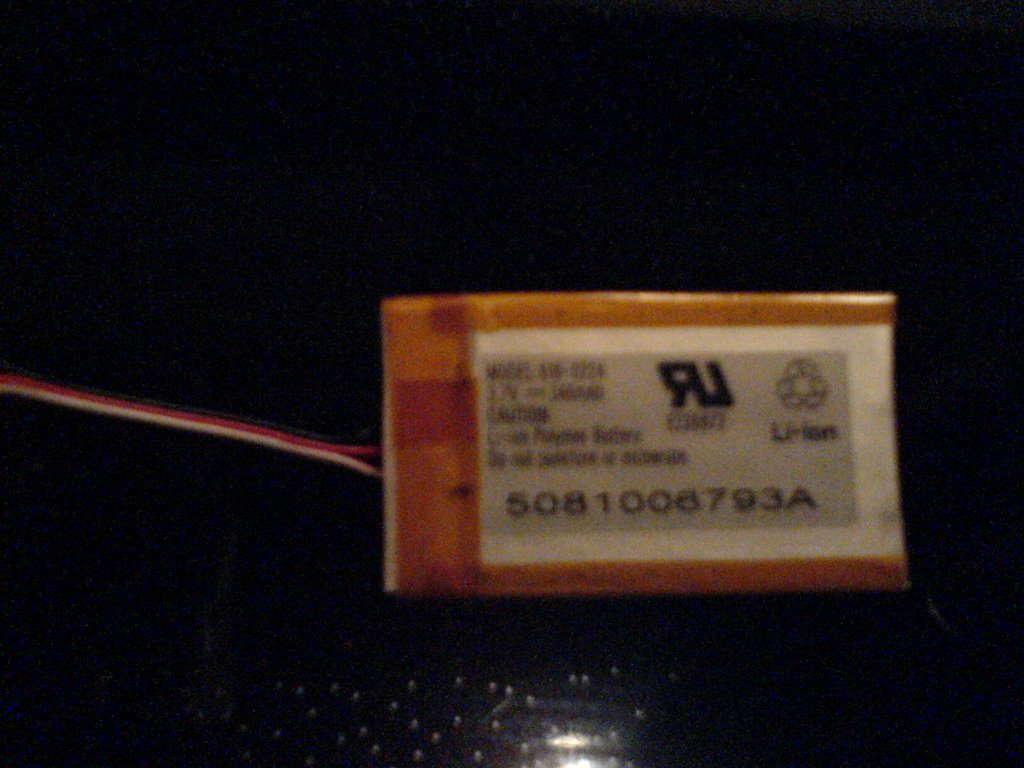
I was a little nervous when prying apart the nano at first but it went fairly quickly with patience and once I was confident I wouldn't destroy the pod. Then, with the use of the soldering iron, I removed the old battery (shown below)
And finally, managed to solder the connectors of the new battery into place. I bought a standard 30W soldering iron and for this job a smaller iron would have been easier but I managed to get the connections in place after some work.
I then charged the pod and for the first time in a long time it showed a full charge graphic. We'll see how long it holds the charge.

1 comment:
That sucks that you have to solder to get the new battery in. I've replaced batteries in Gen 1 and Gen 3 iPods and there is was no soldering required.
Post a Comment